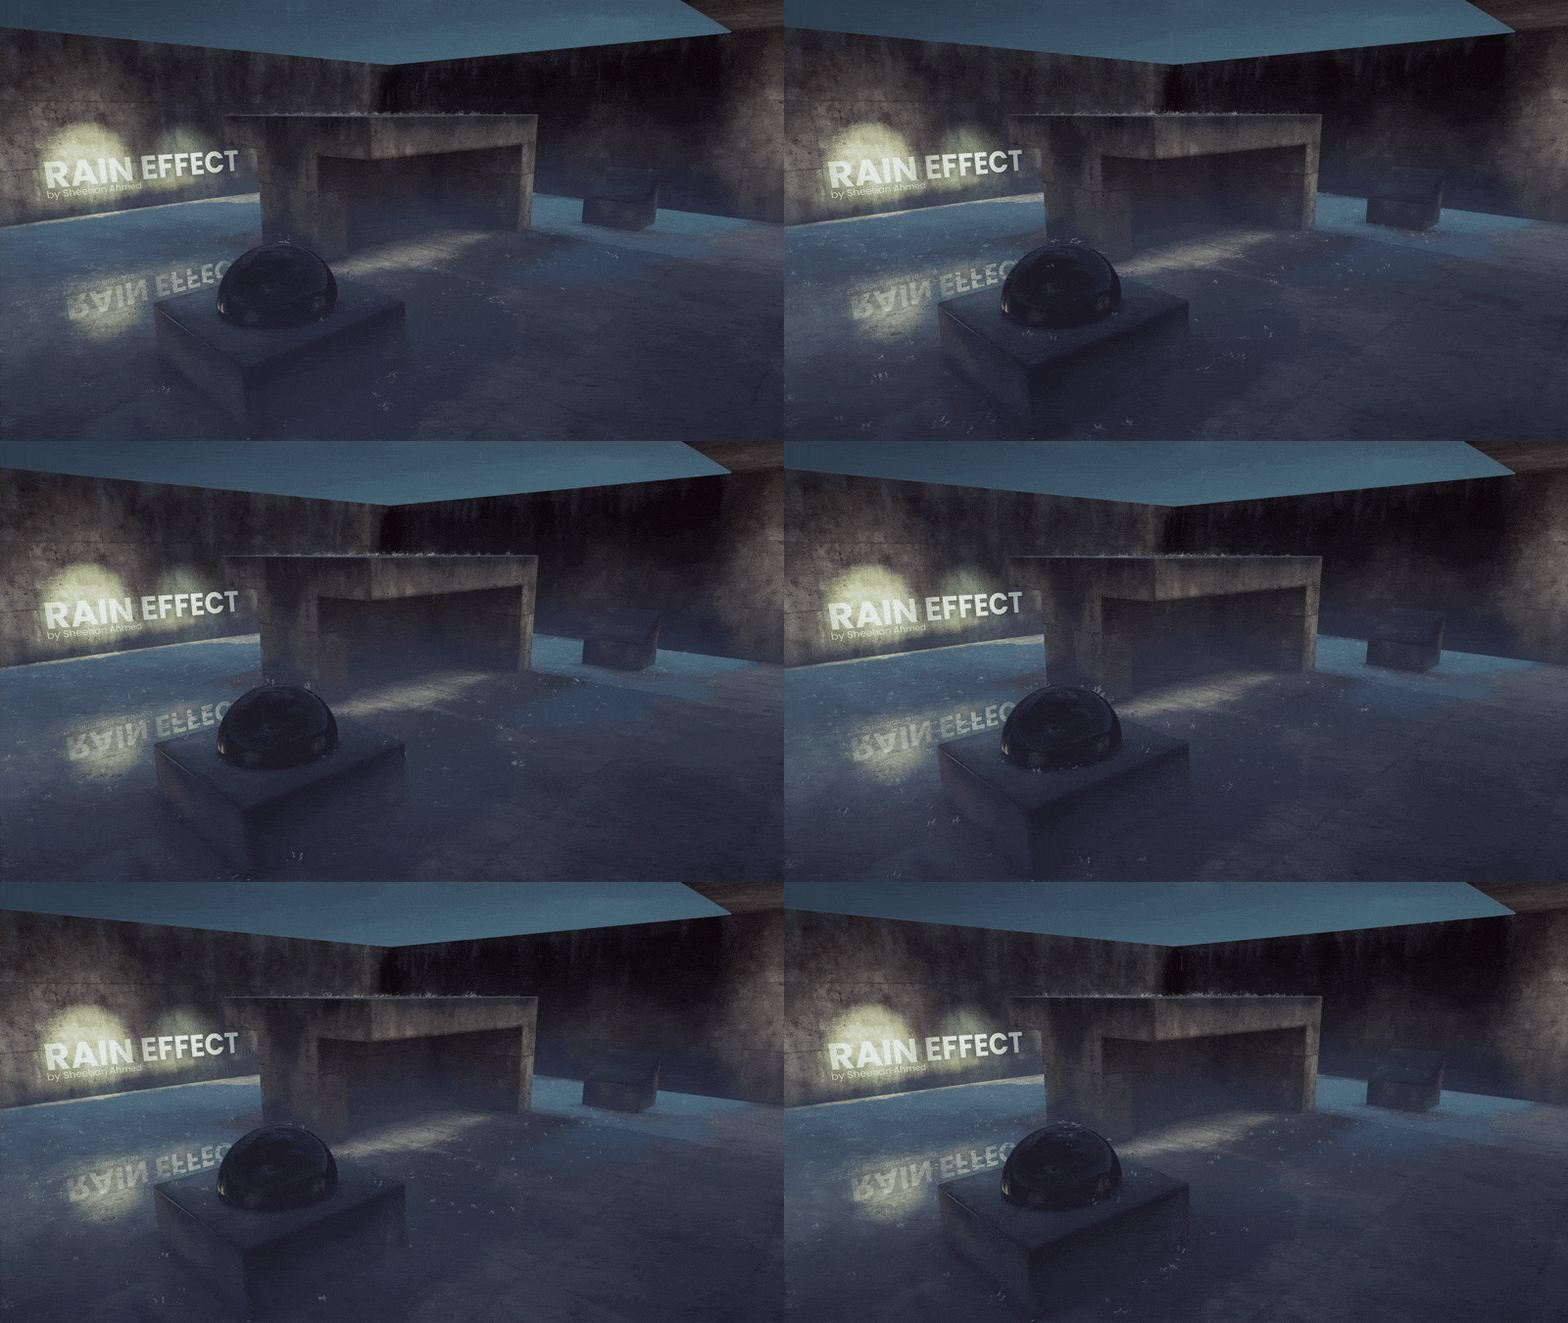
Realtime Rain VFX Breakdown
Made with Unity, Blender, HLSL, ShaderGraph, VFX Graph
My friends in LA look at me like I’m crazy when I mention how much I love rainy overcast days. I can’t help it! I’m from the best place on Earth: the Pacific Northwest.
Gathering ReferencePermalink
Now usually if I wanted to take a close look at rain, I would just take a stroll outside, but Portland is having an unfortunately dry summer. I checked out some YouTube videos instead, like this one:
There were some phenomena in the reference video that I chose to leave out, namely the bubbles and the base waves on the surface of the water. I wanted to shoot for a shallower puddle that still had the vibrancy of rain hitting a deep body of water. It’s not completely realistic, but then again, no great visual effect ever is!
My effect was made in Unity by layering several steps/passes:
- Droplets (ortho camera depth pass -> VFX graph spawn)
- Splashes (ortho camera depth pass -> VFX graph spawn)
- Puddles (vertex color + height blend)
- Ripples (UV manipulation shader)
- Wash cascades (transparent mesh with scrolling shader)
- Mist (depth effect)
The Base EnvironmentPermalink
The base environment is a simple blocky mesh that has areas of cover, elevated ground, and varied shapes (sphere and angled block). These represent the main environment problems I expected my rain to solve for. I wanted the splashes to follow the form of the environment and rain to ignore areas that should be covered and safe from rainfall.

The Ortho CameraPermalink
Inspired by my friend Sichen Liu’s Odradek Scanner effect, I created an orthographic camera facing down on the scene. I render out this camera’s depth and normals to a RenderTexture. These will come in handy later.

DropletsPermalink
The droplets are as simple as can be: a LineRenderer in the VFX Graph that scales the lifetime of each line according to the depth of the ortho camera. This ensures that rain droplets don’t intersect the level and appear underneath cover.


SplashesPermalink
Splashes are a spritesheet particle spawned along the ground with the particle-up facing the normal and the particle-forward facing the camera plane. During my process, I ran into issues with ledges. Splashes were spawning half-on a ledge and along the wall, which were immersion-breaking and ugly. To solve this, I run the orthographic camera’s depth through a Sobel filter, which essentially creates outlines around areas of depth contrast. Because the camera is facing downward, these areas of high contrast are my walls and ledges.

By passing this mask into my VFX graph, I can make my splashes ignore walls. The outline has the added benefit of culling away a bit from the ledges, which solves the half-on-ledge problem as well.

PuddlesPermalink
The puddles and general wetness in the scene was painted on through vertex color and adjusted by sharpness and fill. This is also influenced by the heightmap of the underlying texture.

RipplesPermalink
The typical approach for ripples on deep water is a voronoi-style pattern that creates overlapping circles. I wanted to make the ripples feel like they had more local impact, so I instead used a normal texture for the ripple.

In my shader, I sampled this texture with two layers of ripples. Having two layers on separate start times helps kill the grid-like look. I then simulate a ripple animation by scaling the UV of the ripples and fading the normal strength in and out with an ease curve based on the following function:
1.0 - pow(2.0 * input - 1.0, 2)
This function gives a nice ease to the ripple transparency that looks natural.

I also use a population slider that basically compares a floor(rand(uv)) sample against a threshold value to kill a certain percentage of ripples. A full set of ripples looks strangely uniform anyway, and this gives me control over how torrential I want the rainfall to look.

Wash CascadesPermalink
I saw this effect on a pillar in Overwatch 2, and it felt like a nice, slightly stylized way to evoke water travelling down a lateral surface.

I recreated it in a relatively simple way: generating a mesh at the side of every ledge that water would be washing down on and scrolling a voronoi + clouds texture along the Y of the UV. Here is the effect with exaggurated visibility.

MistPermalink
Finally, the mist is scrolling noise with a depth mask in order to keep it closely hugging the ground. Here is the effect with exaggurated visibility.

ConclusionPermalink
Thank you for reading my breakdown! This was a fun project that challenged me to use the information I had at hand in interesting ways. Making a tribute to my home state felt satisfying, and I feel well-equipped to use ortho-camera depth sampling techniques for various other effects.

Follow me @wheatpenguin on Twitter.

Comments